How to Make Your Own Dance in 10 Steps
Have you always wanted to create your own dance routine? Well here we explain how to make your own original routine in just 10 steps!
I hope my dance choreography articles can guide you on your journey into the wonderful world of dance creation (i.e. choreography). This is a guide that can be used by dancers of all levels, anywhere from absolute beginners to highly experienced dancers. Happy creating everyone! 💃
Step 1: Ask Yourself, “Who is My Audience?”
 Photo by Tiago Muraro on Unsplash
Firstly, are you creating this dance for a family member’s birthday party, a friend’s wedding, or just for yourself?
Ask yourself, “Who is my audience?”
Examples:
- University students?
- Your grandmother?
- Your friends?
- Families with children?
Undoubtedly, it’s important to determine your audience and purpose so that you choose the appropriate style or genre to create. You probably don’t want to make a sexy dance for your grandmother’s 85th birthday party, for example (unless you know for sure that she’s really into that sort of thing…!) You would, however, maybe want to choreograph a routine that tells a story of your grandma’s life experiences through say a contemporary or lyrical dance, that expresses her best qualities or her successes, in a way that not only impresses everyone at the party but also touches your grandmother’s heart and makes her birthday unforgettable.
On the other hand, if you’re doing a performance at a university campus that is filled with students in their 20s and 30s, you may want to create a dance in a genre such as hip hop, K-pop, or the like – genres that tend to be more popular among that generation and have more sensual or “cool” movements that incorporate recent pop culture.
“There are no “wrong answers” in dance!”
At the end of the day though, you are the one who holds all the power of creation, so listen to your heart and express yourself in a way that is best for you. There are no “wrong answers” when expressing yourself! There may be particular movements that receive a better response from the audience than others but it’s all a matter of preference. I suggest that you create a routine that you, yourself, can feel proud of and would be happy to sit and watch!
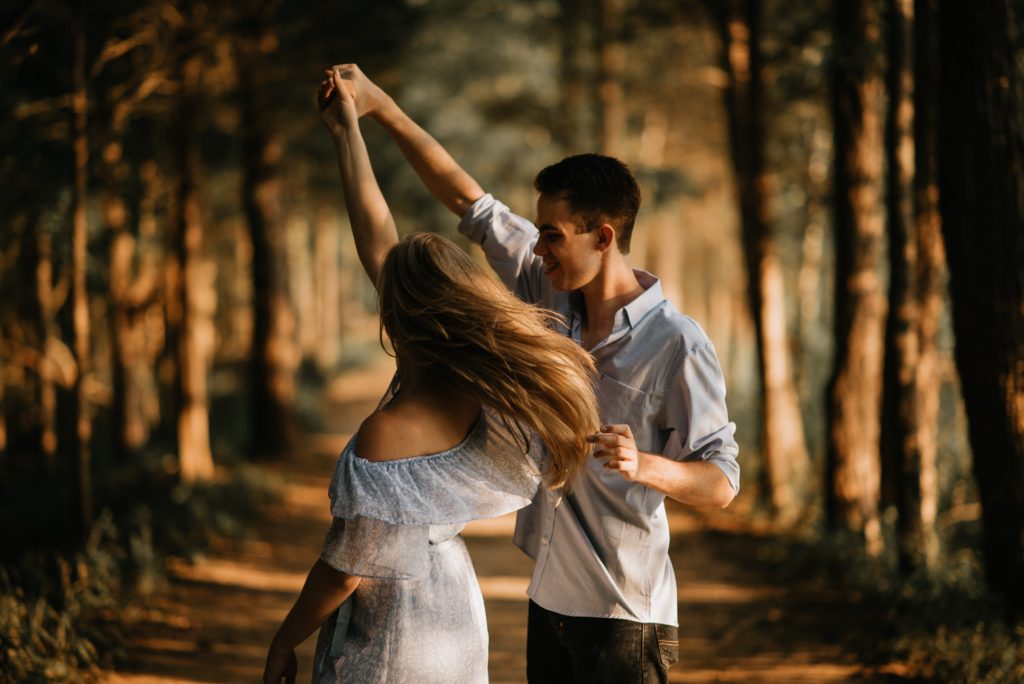
Step 2: Confirm Your Performance Space
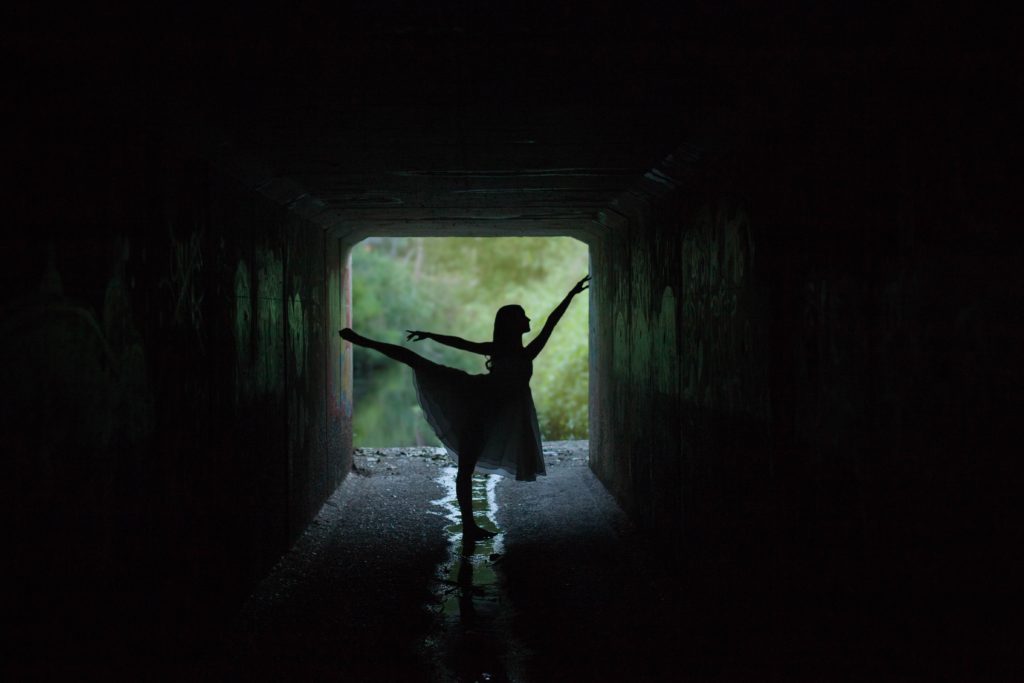 Photo by Kyle Head on Unsplash
- Think about where you will be performing. A stage? Your house? Somewhere outside on the grass or on concrete?
- Take note of roughly how much space you’ll be able to dance in. This will tell you of any limits or possibilities in creating your dance.
For example, if you are going to perform on concrete, you might not want to incorporate lifts if you’re still inexperienced as it could be too dangerous. Additionally, if the ceiling of your performance location is extremely low, you may not want to incorporate any jumps that are too high as you may bump your head!
Step 3: Identify Your Dancers.
Ask yourself:
- How many people will be performing?
Knowing this will give you ideas for potential formations (your dancers’ positions on stage) or transitions (changing from one position to another). If you are dancing by yourself, you won’t be able to do different formations, but you’ll still be able to transition and you’ll have a lot of freedom with your choreography.
- What do you or your fellow dancers have difficulty doing?
For example, do some dancers have difficulty with turns or floorwork (dance movements on the floor)? If they do, you may choose to forgo those movements entirely or use them less often to speed up the choreography process. If you have the extra time for it, you could choose to set aside time to train your fellow dancers in those types of dance movements)
- What specialties do you or your fellow dancers have?
For instance, are some of your dancers very flexible or great at jumps or lifts? Take advantage of these special abilities to create even more unique movements that will impress or move your audience.
Step 4: Pick your Music
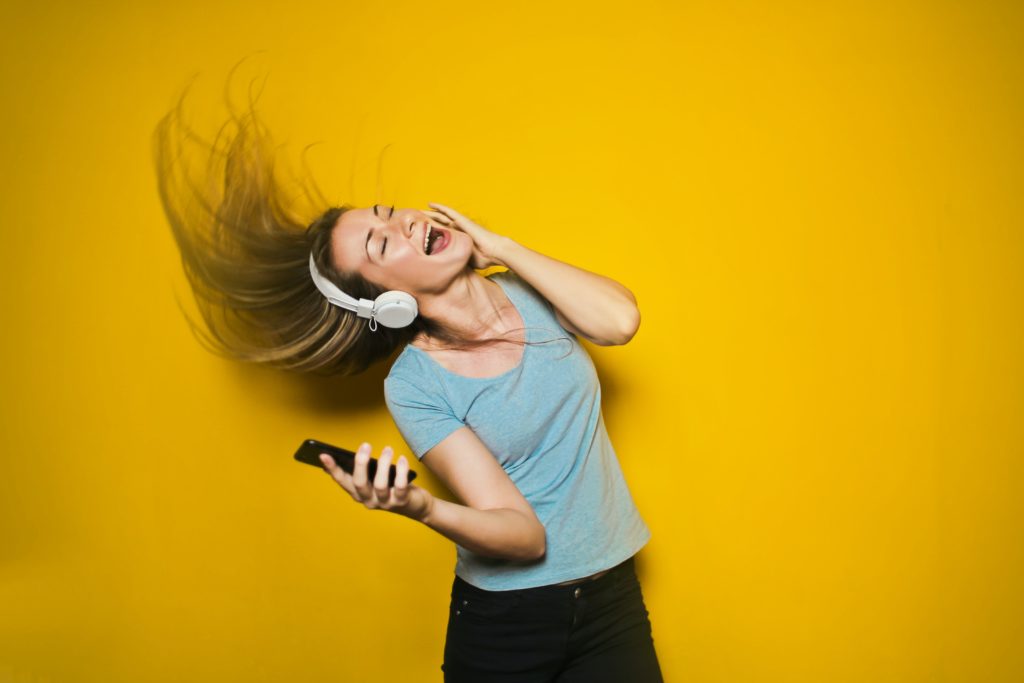 Photo by bruce mars on Unsplash.
- Pick your song. Choose one that you A) naturally feel the desire to move to and B) are happy to listen to on repeat.
- Listen to the song on repeat & take a mental note of the part/s of the music that your body naturally starts moving to. This may come in the form of natural head nodding, tapping of your fingers or feet, etc.
- Decide what section of the song you’d like to choreograph (For example: from the intro to the end of the first chorus? From the intro to the end of verse 2?)
- *Cut the music to suit your needs using programs such as Garage Band.
*You can do this after you finish choreographing, or at any time you please, so if you’d like to keep the creative juices flowing, feel free to skip this step for now and come back to it later.
Step 5: Search for Themes / Narratives for Your Dance
 Photo by Tengyart on Unsplash
- Look for what themes the song (and/or its music video) is portraying. For example, passion, violence, happiness, love, hate, loss, connection, etc. Write down the overall mood of the song and any themes you can identify.
- Circle which themes you want to focus on in your choreography and keep them in mind when you are doing step 6.
There are two major types of dances, but it’s possible for your dance to be both!
- Rhapsodic: The primary focus is to convey a particular emotion. For example, expressing a sense of sadness or loss through movement such as putting your hands over your face and hunching, curling up into the fetal position, etc.
- Narrative: Follows a storyline, and may express specific meanings or concepts through that story. For example: Retelling a story or fairy tale, or telling a story of your life.
Step 6: Start Moving & Recording
![]()
- Set up a simple recording device (e.g. a smartphone/camera).
- Press record and move to the space that you plan to move in. Stop the recording and check that your entire body fits in the confines of the screen. Adjust the position or angle of the camera/smartphone if needed. As you will be moving, ensure that the camera is far enough away to allow room for that. You are likely to change levels while dancing, the greater the distance, the better.
- Press record again and start playing your music. Move back to the space you want to dance in.
- Close your eyes and start moving in ANY way that you feel naturally drawn to move. Fully open up to ALL ideas and try dancing them without any judgment. Freestyle like this until you’ve danced to the song (or the part of the song you’ve chosen) at least twice. You don’t necessarily need to focus on making up new unique moves – you can use old moves that you’ve used or seen before.
- Stop the recording. Get comfortable and watch the recording, taking notes of the moves that you really liked.
- Start recording again. Begin to focus on a part of the dance you feel most inspired by. Start to combine movements. Matching your movements with the beat/rhythm of the music/lyrics is NOT a must, but it can make your moves more climatic, so I recommend that you try it.
- Repeat this process as many times as needed to create a basic version of your dance routine.
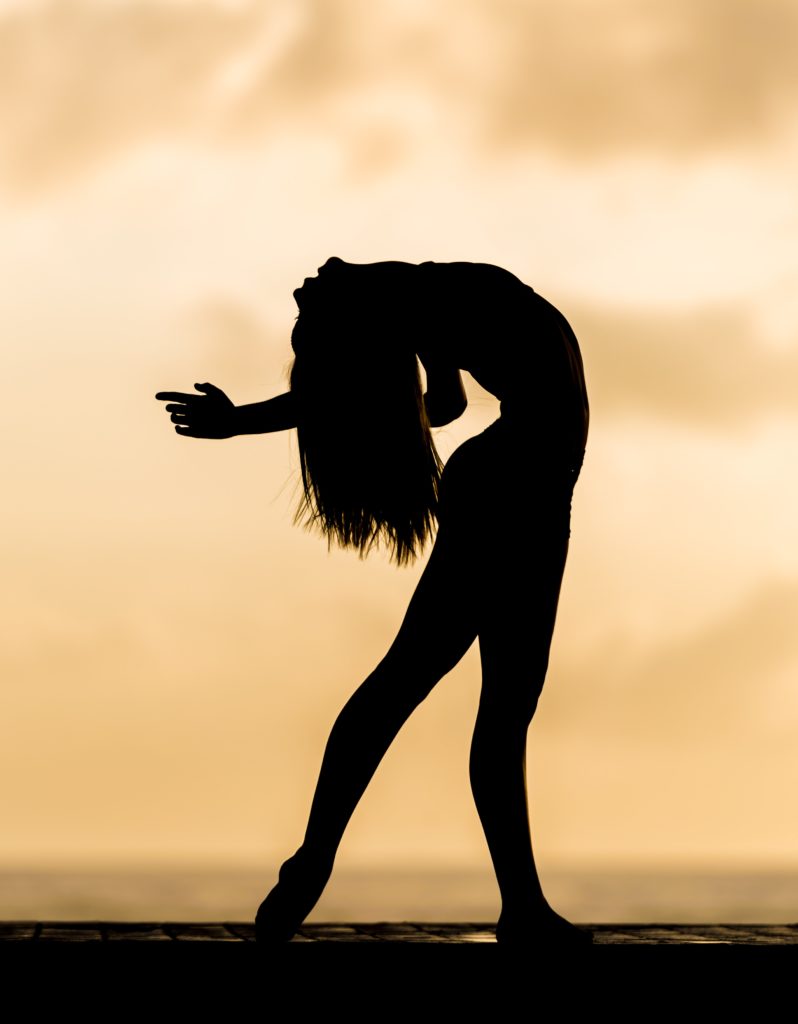
Step 7: Include LOTS of Variety in your Dance
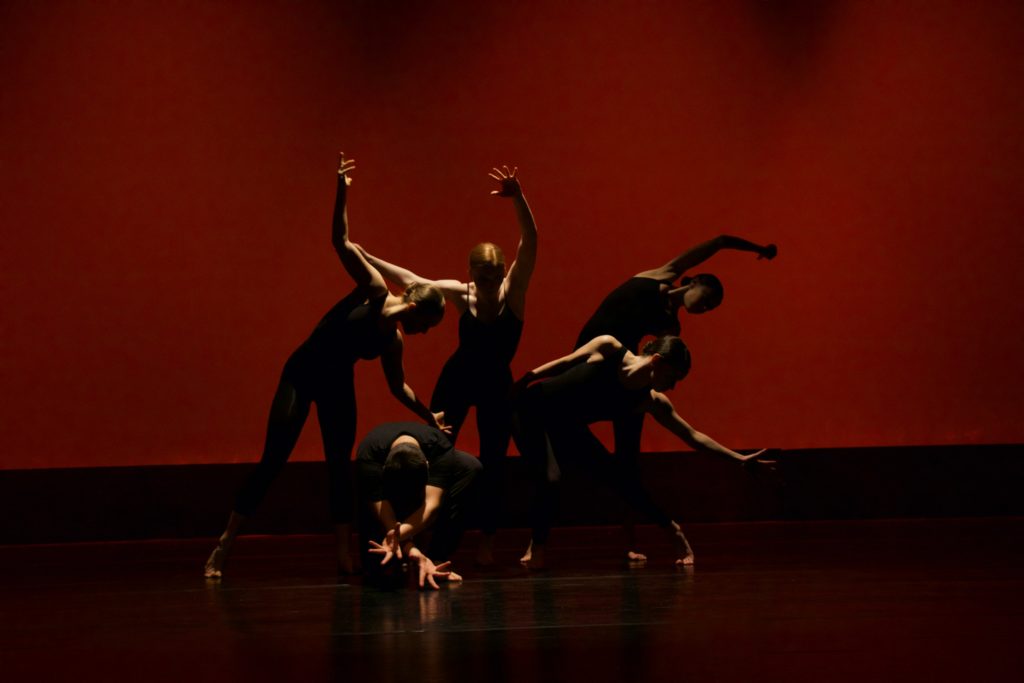
Photo by Samantha Weisburg on Unsplash
Too much repetition of the same levels, movements, or other factors is likely to bore your audience.
Instead:
- Think about the 3 elements of dance and how you can play with them to increase the variety in your dance.
- Use choreographic devices to further increase variety.
REMEMBER: Variety will ensure you continue to capture your audience’s attention. They won’t want to miss even a second of your dance!
Step 8: Improve Your Dance!
- Bring together moves to form sequences that you feel very happy with.
- Record yourself dancing these dance sequences or parts.
- Watch your recordings and change or improve movements where needed.
- Get other people’s opinions if possible, by showing them two different sequences side-by-side and ask them which they prefer more.
- Double-check that you have included enough VARIETY using (A) the elements of dance and B) choreographic devices.
Some questions to ask yourself:
- Have I used enough of the stage space?
- Have I used a variety of movements, levels, and directions?
Step 9: Practice Your Dance!

Photo by Jusdevoyage on Unsplash
Practice your dance until you can do the dance purely using muscle memory! You don’t want to have to rely on your memory. As humans, we’re very forgetful, especially under pressure. It’s not unusual to go completely blank mid-performance. To prevent this, don’t even rely on your mind. Simply rely on your most reliable source – your body’s muscle memory. Your muscles will remember the movements so that you don’t have to. Simply practice over and over again until you can do it without thinking.
Step 10: Decide Your Costume or Outfit and Perform it! 
Think about what you would like to wear when you perform your dance! Would you like your outfit or costume to portray or instill some kind of meaning or emotion? You can use clothes you already have or even design or buy a costume. Feel free to use props too! Props are great for adding “that extra touch” to your dance or even using it as a central theme. For tips on deciding what items to use with your dance check out our Dance Props guide.
You can choose to perform it in front of people you know, or random people by performing at a public place, such as a park or beach. You can also record a video of your dancing using a tripod and upload your routine to Youtube or to other online platforms. Many people choreograph routines without ever performing them. Dance is an expression of yourself and is used to bring a little of yourself out into the world. It may be scary at first, but the more you perform, the greater confidence you will have. Be patient and start off with small audiences. Last but not least, remember to dance with the intention of bringing joy to yourself and to others! Check out more of our choreography guides here.
Why I Shared this with You:
Not everyone in the world is as lucky or blessed enough to have the guidance of a teacher that can show them how to do this. There are plenty of dance studios around the world that have instructors who will teach you how to perform a routine that they or someone else has created. Finding someone who will show you how to make your OWN original routine? That’s a rare find.
As a choreography class teacher, I felt frustrated that I couldn’t show more people how to create their own routines. I was limited to sharing my knowledge with only the students that came to my classes, so I felt it in my heart to share my knowledge with the world.
nice article thanks.
Hi Abby, I’m very happy the article could be of help to you! And thank you very much for taking the time to leave a comment! We look forward to providing you with more articles that you can enjoy and benefit from.
what a useful, well-organized, comprehensive article, using language to capably describe a non-linguistic practice. thank you & well done!